Eduponics MQTT Powered Mobile APP
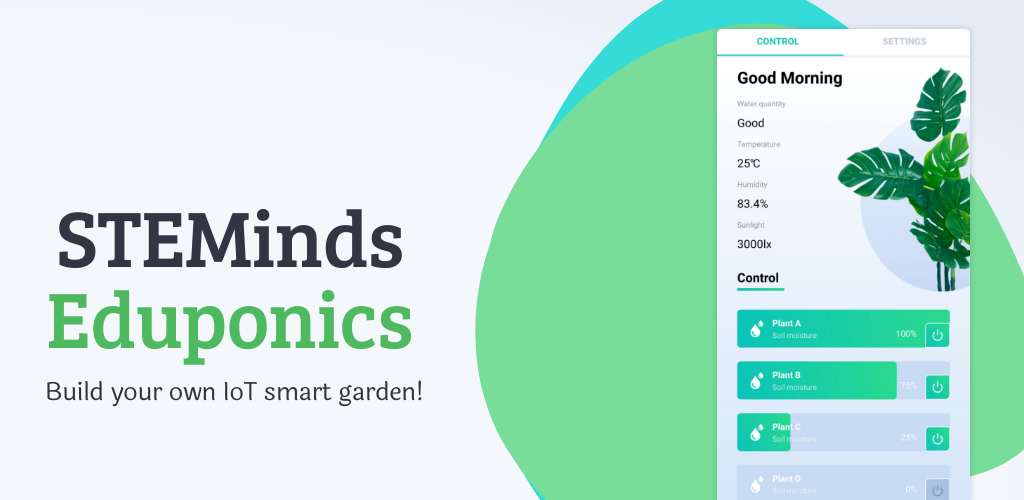
The Eduponics App is a special app we've developed in order to turn your kit into a complete autonomous smart watering solution.
By using the app and pairing it with the Eduponics mini kit you'll be able to control your plants remotely by pumping water when needed, view sensors data in real time such as: temperature and humidity, light intensity, water quantity and off course monitoring soil moisture levels.
The app can work anywhere, whenever you are at home, at work or on vocation. it doesn't require a local server or port forwarding.
The app currently support the following languages:
English, Hebrew, Mandarin (Chinese), Spanish, German, Ukrainian, Russian, Hindi, Portuguese
The language is selected by your system language (your mobile phone language). If you'd like us to add extra translations and would like to help us translate the app for more languages, feel free to contact us!
For now, only Android app version is available
Although we developed both the Android and iOS version for the Eduponics app, we haven't released the iOS app yet for the apple appstore due to app regulations and application approval process, we plan to release it as soon as possible, stay tuned!
Preparing the Eduponics Mini
Before we'll jump directly into our app, we need to prepare our Eduponics Mini ESP32 board first with custom software that will enable our kit to connect to the MQTT broker and publish and subscribe to and from topics.
In order for this tutorial to work, make sure you follow the installation instructions below to install the micropython-eduponics library on your Eduponics Mini device.
Connecting Eduponics Mini to WiFi
Let's repeat the same process we've used in the basic MQTT client tutorial by creating boot.py file, this file will first load when our Eduponics Mini restart or the power plugged in, in this file we'll configure the WiFi credentials such as ESSID (WiFi name) and the WiFi password.
Once we've connected to the WiFi using the station.connect() command, we can print our ESP32 WiFi IP address into the console.
import network
import esp
import time
esp.osdebug(None)
import gc
gc.collect()

# set WiFi credentials
ssid = ''
password = ''

# check if there is username and password for wifi
if(ssid != '' and password != ''):

    station = network.WLAN(network.STA_IF)

    station.active(True)
    station.connect(ssid, password)

    timeout_interval = 10

    # try to connect with timeout interval
    for i in range(0,timeout_interval):
        if(station.isconnected() == False):
            time.sleep(1)
            pass
        else:
            break;

    if(station.isconnected()):
        print('Connected to WiFi successfully, IP: %s' % station.ifconfig()[0])
    else:
        print("Something went wrong, connection timeout, try again!")
else:
    print("Please add WiFi credentials properly")
Now every time we restart or power the Eduponics Mini board it will automatically connect to the WiFi at our home.
2.54GhZ WiFi support only
Just reminding once again, the ESP32 support only 2.54GhZ WiFi networks. Most of the 5Ghz WiFi routers / access points allow both 5Ghz and 2.54Ghz, make sure to choose the 2.54Ghz one. to avoid connectivity issues make sure your network is operated on 2.54Ghz.
Installing the micropython-eduponics library
The MicroPython-Eduponics library can be found on STEMinds Micropython-Eduponics repository the easist way to install the library is through uPip.
Make sure to change WiFi ESSID and Password. Once the ESP32 is connected to the Wifi, run the following commands:
import upip
upip.install("micropython-eduponics")
The installation should complete and once it's done you shall have a "lib" directory on your ESP32 device containing all the pre-requirements for this tutorial.
Another way would be to grab the firmwares directly from the repository and install them into your ESP32 device using the esptool mentioned in the first tutorials.
Generating UUID
As we've mentioned in the basic MQTT client tutorial, we could either head to uuidgenerator.net and copy paste the automatically generated UUID for us or generate it by ourselves.
The UUID is used to identify our device from other devices on the MQTT network.
it is crucial to generate a unique UUID and not re-use it.
If we want to use the second option, here is a MicroPython example code to generate unique UUID, there are few kinds: unique based on host ID and current timestamp which is what we recommend, a UUID based on MD5 hash of a namespace (if you use this method, make sure to change steminds.com to something else, something random) and the last option to generate a random UUID.
import uuid

# make a UUID based on the host ID and current time, best option.
uuid_x = uuid.uuid1()
print(uuid_x)

# make a UUID using an MD5 hash of a namespace UUID and a name
uuid_y = uuid.uuid3(uuid.NAMESPACE_DNS, 'steminds.com')
print(uuid_y)

# make a random UUID
uuid_z = uuid.uuid4()
print(uuid_z)
Adding main MQTT client
The main MQTT client we will use now is very different from the previous basic MQTT example we've done.
In this example, we will integrate all our sensors and use them when needed, we will start by defining in our ode all the sensors such as ADC for the soil moisture sensor, light sensor, BME280 sensor and water quantity sensor.
Then we'll have multiple topics, the topics we will use are:
- plants/soil
- plants/environment
- plants/water
The plants/soil topic is used to publish soil moisture sensor data, take a look at the JSON file below:
  plant = {
      "id":0,
      "name":"Plant A",
      "enabled":1,
      "moisture":normal_reading
  }
We can name the plant as we wish and it will show on our app, enabled can be changed between 1 or 0 which will describe if the plant can be used or not (watering functionality mainly) and inside moisture we add the soil moisture sensor values.
It's import to keep the ID 0 as we use only one soil moisture, if you use the IO extension pins to add more plants, you can change the ID from 0 to 1,2,3 .. as follows:
  plants = [{
      "id":0,
      "name":"Plant A",
      "enabled":1,
      "moisture":normal_reading
    },{
      "id":1,
      "name":"Plant B",
      "enabled":1,
      "moisture":normal_reading_two
    }]
In the plants/environment topic we will publish temperature, humidity, sunlight and water quantity using the rest of the sensors that are integrated in the Eduponics Mini kit.
And finally plants/water will be used to subscribe instead of publishing, in our app we can press the watering icon which will water our plants, our ESP32 will receive the message from the plants/water topic and water the plants accordingly.
Note in water_plant() function the following lines:
  # check if soil moisture is bigger than 60
  if(int(json.loads(get_soil_moisture())["moisture"].replace("%","")) > 60):
      # enough water, stop giving water
      break;
We've set default of allowing to give water only if the plant has less than 60% soil moisture or if the water quantity sensor says there is no more water left. this configuration can be played with as well as to add automatic watering and not manual operation through the app.
Here is the complete code, make sure to save it as main.py as this will be our main program:
"""
MicroPython MQTT Eduponics APP Client
https://github.com/STEMinds/micropython-eduponics
MIT License
Copyright (c) 2020 STEMinds

Permission is hereby granted, free of charge, to any person obtaining a copy
of this software and associated documentation files (the "Software"), to deal
in the Software without restriction, including without limitation the rights
to use, copy, modify, merge, publish, distribute, sublicense, and/or sell
copies of the Software, and to permit persons to whom the Software is
furnished to do so, subject to the following conditions:
The above copyright notice and this permission notice shall be included in all
copies or substantial portions of the Software.

THE SOFTWARE IS PROVIDED "AS IS", WITHOUT WARRANTY OF ANY KIND, EXPRESS OR
IMPLIED, INCLUDING BUT NOT LIMITED TO THE WARRANTIES OF MERCHANTABILITY,
FITNESS FOR A PARTICULAR PURPOSE AND NONINFRINGEMENT. IN NO EVENT SHALL THE
AUTHORS OR COPYRIGHT HOLDERS BE LIABLE FOR ANY CLAIM, DAMAGES OR OTHER
LIABILITY, WHETHER IN AN ACTION OF CONTRACT, TORT OR OTHERWISE, ARISING FROM,
OUT OF OR IN CONNECTION WITH THE SOFTWARE OR THE USE OR OTHER DEALINGS IN THE
SOFTWARE.
"""

from Eduponics import umqttsimple,bh1750,bme280
import machine
import time
import json

# set adc (analog to digital) on pin 35
adc = machine.ADC(machine.Pin(35))
# set 11dB input attenuation (voltage range roughly 0.0v - 3.6v)
adc.atten(machine.ADC.ATTN_11DB)

# Configure light sensor
light_sensor = bh1750.BH1750()

# Configure BME280
# setup I2C connection
i2c = machine.I2C(scl=machine.Pin(15), sda=machine.Pin(4))
# Initialize BME280 object with default address 0x76
bme_sensor = bme280.BME280(i2c=i2c)
# initialize dht object, DHT11 coonected to IO19
#d = dht.DHT11(machine.Pin(19))

# define water level sensor as INPUT on IO pin number 21
water_level = machine.Pin(21, machine.Pin.IN)

# define pump on pin IO23 as OUTPUT, define pump state
pump = machine.Pin(23, machine.Pin.OUT)
pump_state = False

# MQTT Unique ID
UUID = "YOUR_UUID_GENERATED_ID"
# MQTT Topics
topics = ["plants/soil","plants/environment","plants/water"]

def handle_water_level(pin):
    global pump_state
    # water level triggered, turn off the pump
    # wait for 0.3 seconds to make sure it's just a little below the water sensor
    # else the pump might become unstable
    time.sleep(0.3)
    pump.value(0)
    pump_state = False

def get_soil_moisture():

    # sensor min and max values
    # can be changed and callibrated
    minVal = 710
    maxVal = 4095

    # read soil moisture sensor data
    val = adc.read()

    # scale the value based on maxVal and minVal
    scale = 100 / (minVal - maxVal)
    # get calculated scale
    normal_reading = ("%s%s" % (int((val - maxVal) * scale),"%"))
    # we can also get inverted value if needed
    inverted_reading = ("%s%s" % (int((minVal - val) * scale),"%"))
    # for this example we'll return only the normal reading
    # put everything in a JSON format suitable for the eduponics app
    plant = {
        "id":0,
        "name":"Plant A",
        "enabled":1,
        "moisture":normal_reading
    }
    # return the data
    return str(plant).replace("'",'"')

def get_environmental_data():

    # get light from the light sensor
    lux = int(light_sensor.readLight())
    # get bme280 sensor data
    bme280_values = bme_sensor.values
    temperature = bme280_values[0].replace("C","")
    pressure = bme280_values[1]
    humidity = bme280_values[2].replace("%","")
    # get DHT11 sensor data
    # measure sensor data
    #d.measure()
    # get temperature and humidity
    #temperature = d.temperature()
    #humidity = d.humidity()
    # get water quantity
    water_quantity = water_level.value()

    # put all this data into a JSON object
    data = {
        "temp":temperature,
        "humidity":humidity,
        "sunlight":lux,
        "water_quantity":water_quantity
    }

    return str(data).replace("'",'"')

def water_plant():
    global pump_state
    if(pump_state or water_level.value() == 1):
        # turn off the pump
        pump.value(0)
        pump_state = False
    else:
        # turn on the pump
        pump.value(1)
        pump_state = True
    return True

def on_message_callback(topic, msg):
    '''
    this is a callback, will be called when the app asks for certain information
    such as to water the plants when the watering button pressed
    '''
    # convert topic and message byte to string
    topic = str(topic, 'utf-8')
    msg = json.loads(str(msg, 'utf-8'))

    if(topic == "%s/plants/soil" % UUID or topic == "%s/plants/environment" % UUID):
        # Do nothing, we only publish to those topics
        pass
    elif(topic == "%s/plants/water" % UUID):
        # when the app request for plant watering it goes here
        if("key" in msg and "status" in msg):
            # valid request, let's process it
            if(msg["status"] == "pending"):
                # it's waiting for us to water it, let's water it
                water_plant()
                # after watering, publish success message of watering
                response = {"key":msg["key"],"status":"ok"}
                client.publish("%s/plants/water" % UUID, str(response).replace("'",'"'))
    else:
        print((topic, msg))

def connect_and_subscribe():

    print("[-] Connecting to MQTT client ...")
    # set the MQTT broker object
    client = umqttsimple.MQTTClient()
    # set a callback for incoming messages (subscribed topics)
    client.set_callback(on_message_callback)
    # connect to the broker
    client.connect()

    # subscribe to the topics
    for topic in topics:
        client.subscribe("%s/%s" % (UUID,topic))
        print("[-] Subscribed to %s successfully" % topic)
        print("[-] Connected to %s MQTT broker successfully" % client.server)

    return client

def restart_and_reconnect():
    # something  went wrong, reconnect in 5 seconds ...
    print('[-] Failed to connect to MQTT broker. Reconnecting...')
    time.sleep(5)
    machine.reset()

try:
    client = connect_and_subscribe()
except OSError as e:
    restart_and_reconnect()

# configure few variables
last_message = 0
message_interval = 5
# set callback on the water level sensor, if no water stop the pump
water_level.irq(trigger=machine.Pin.IRQ_RISING, handler=handle_water_level)

while True:
    try:
        # check if there are new messages pending to be processed
        # if there are, redirect them to callback on_message_callback()
        client.check_msg()

        # check if the last published data wasn't less than message_interval
        if (time.time() - last_message) > message_interval:
            # get soil moisture
            soil_moisture = get_soil_moisture()
            # publish soil moisture data
            client.publish("%s/plants/soil" % UUID, soil_moisture)
            #print("[-] published soil moisture")

            # update environmetal data
            env = get_environmental_data()
            client.publish("%s/plants/environment" % UUID, env)
            #print("[-] published evironmental data")

            # update last message timestamp
            last_message = time.time()

    except OSError as e:
        # if something goes wrong, reconnct to MQTT server
        restart_and_reconnect()
Changing the MQTT broker
If you'd like to change the existing MQTT broker (mqtt.eclipseprojects.io) you can modify the umqttsimple.py located in the lib directory of the Eduponics library an add your custom broker of your choice.
The Eduponics Mobile app support any type of broker with or without SSL support.
Preparing the Eduponics APP
Now once we have everything ready on our ESP32 Eduponics Mini hardware, it's time to move to the app installation and preparation.
Downloading & Installing Eduponics APP
Currently the app is only available on the Android store and should be able to work on most if not all Android phones. To download, search "Eduponics" in playstore app and you should find it right away.
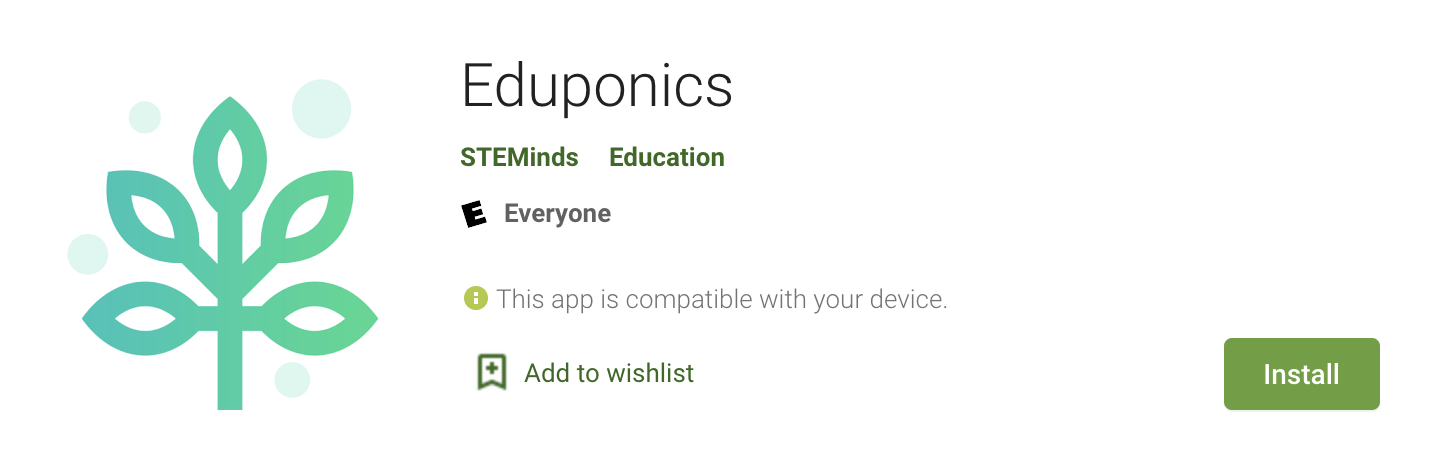
Alternatively you can install it directly to your phone using the web browser playstore application: Eduponics Playstore APP
Connecting Eduponics APP to Eduponics Mini
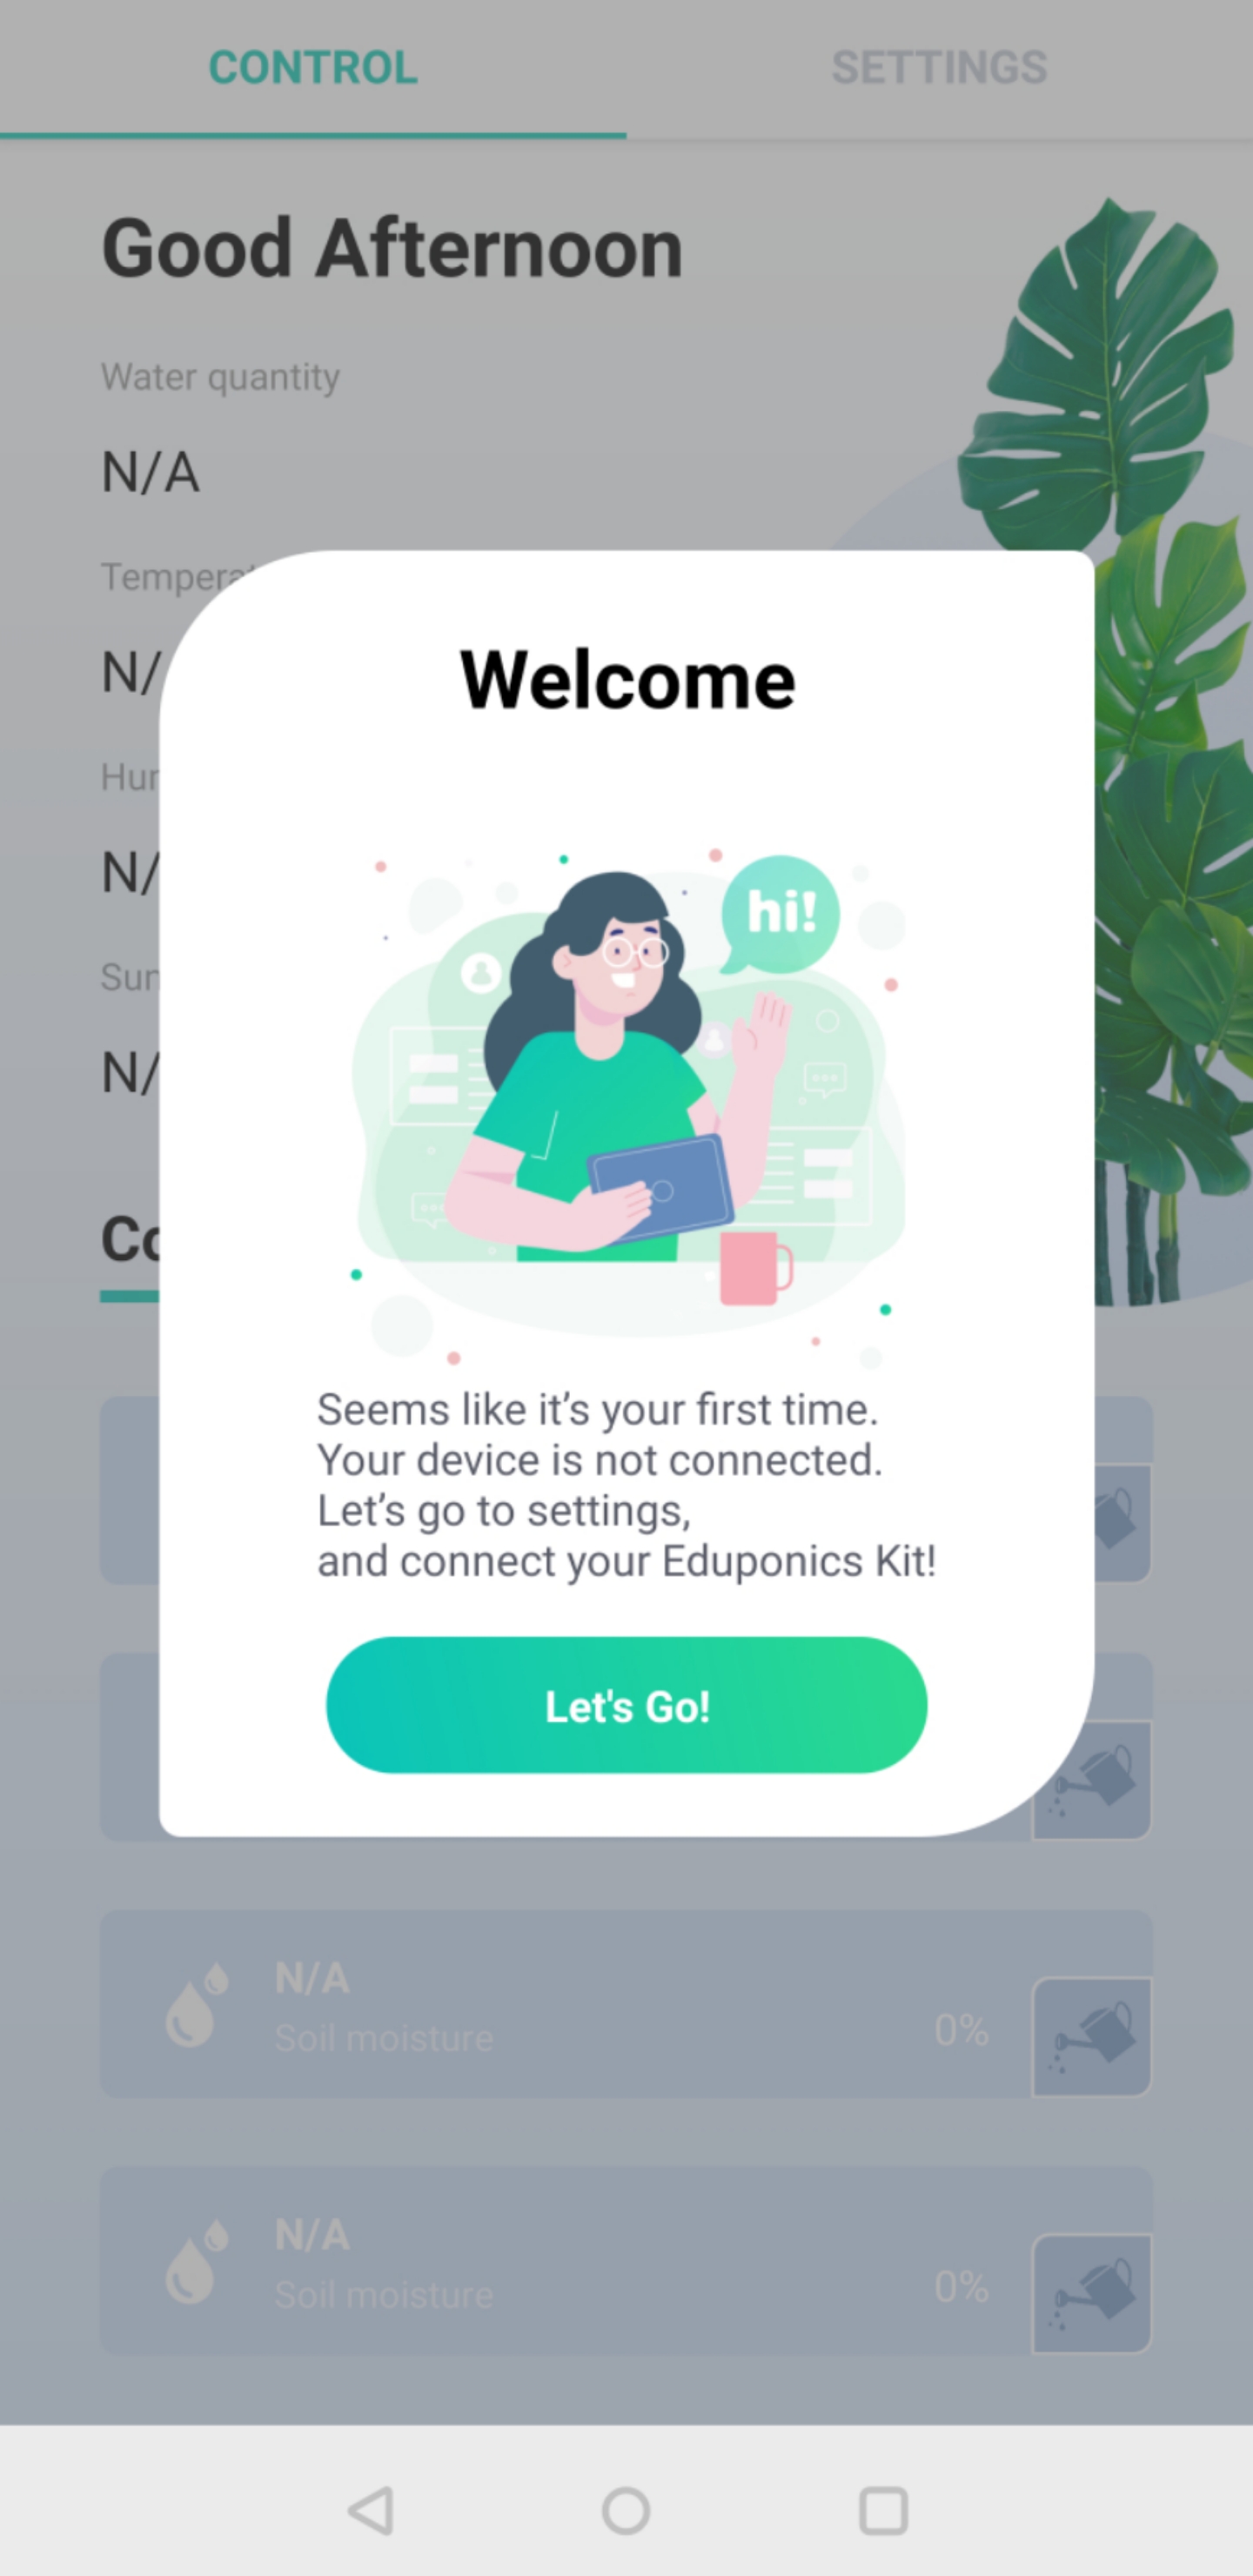
After downloading and launching the app successfully a popup window will show that the hardware is not initialized, this is normal and will happen on first launch of the app or if we've pressed the "wipe data" button in settings to wipe the internal memory of the app.
In this window press "Let's go!" and it will take you automatically to the settings page to bind the Eduponics Mini hardware with the APP.
Once we've been redirected successfully, it's time to bind the app with our hardware. In order to do so - we'll need the UUID we've generated earlier and initialized in our eduponics mini hardware, we can either type it manually or take a picture of a QR code with the UUID inside of it.
Make sure to press the 'Enter' key on the virtual keyboard
After you've typed the UUID completely, press the enter key on the virtual keyboard to confirm the UUID, this should complete the process.
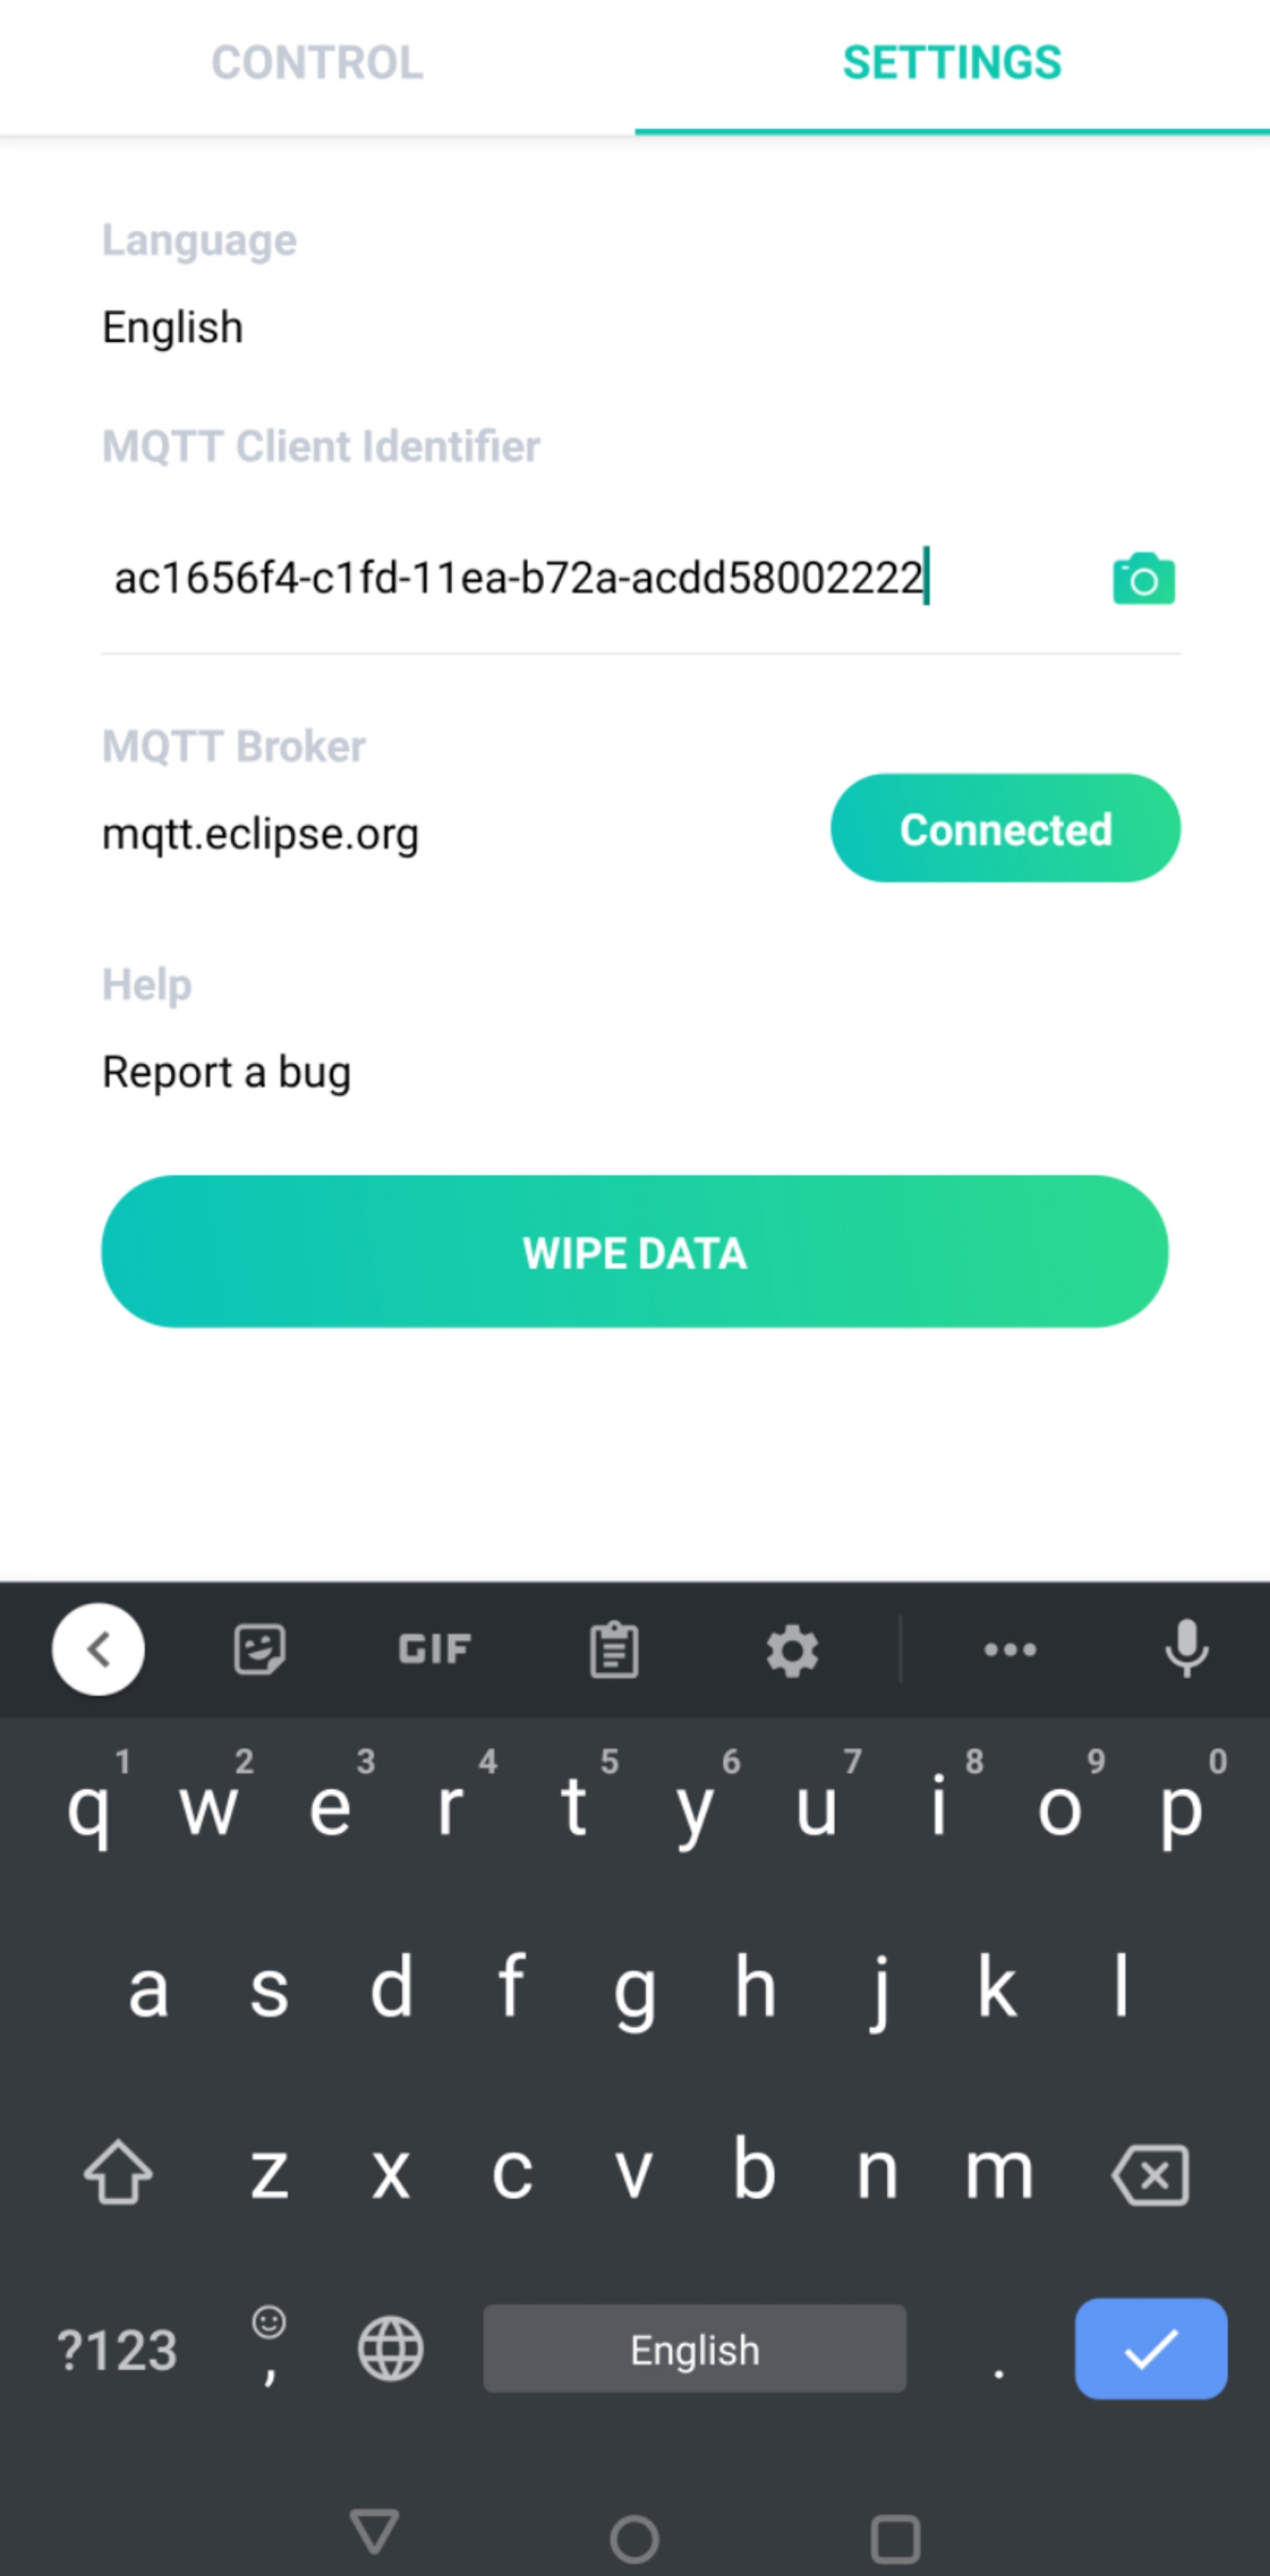
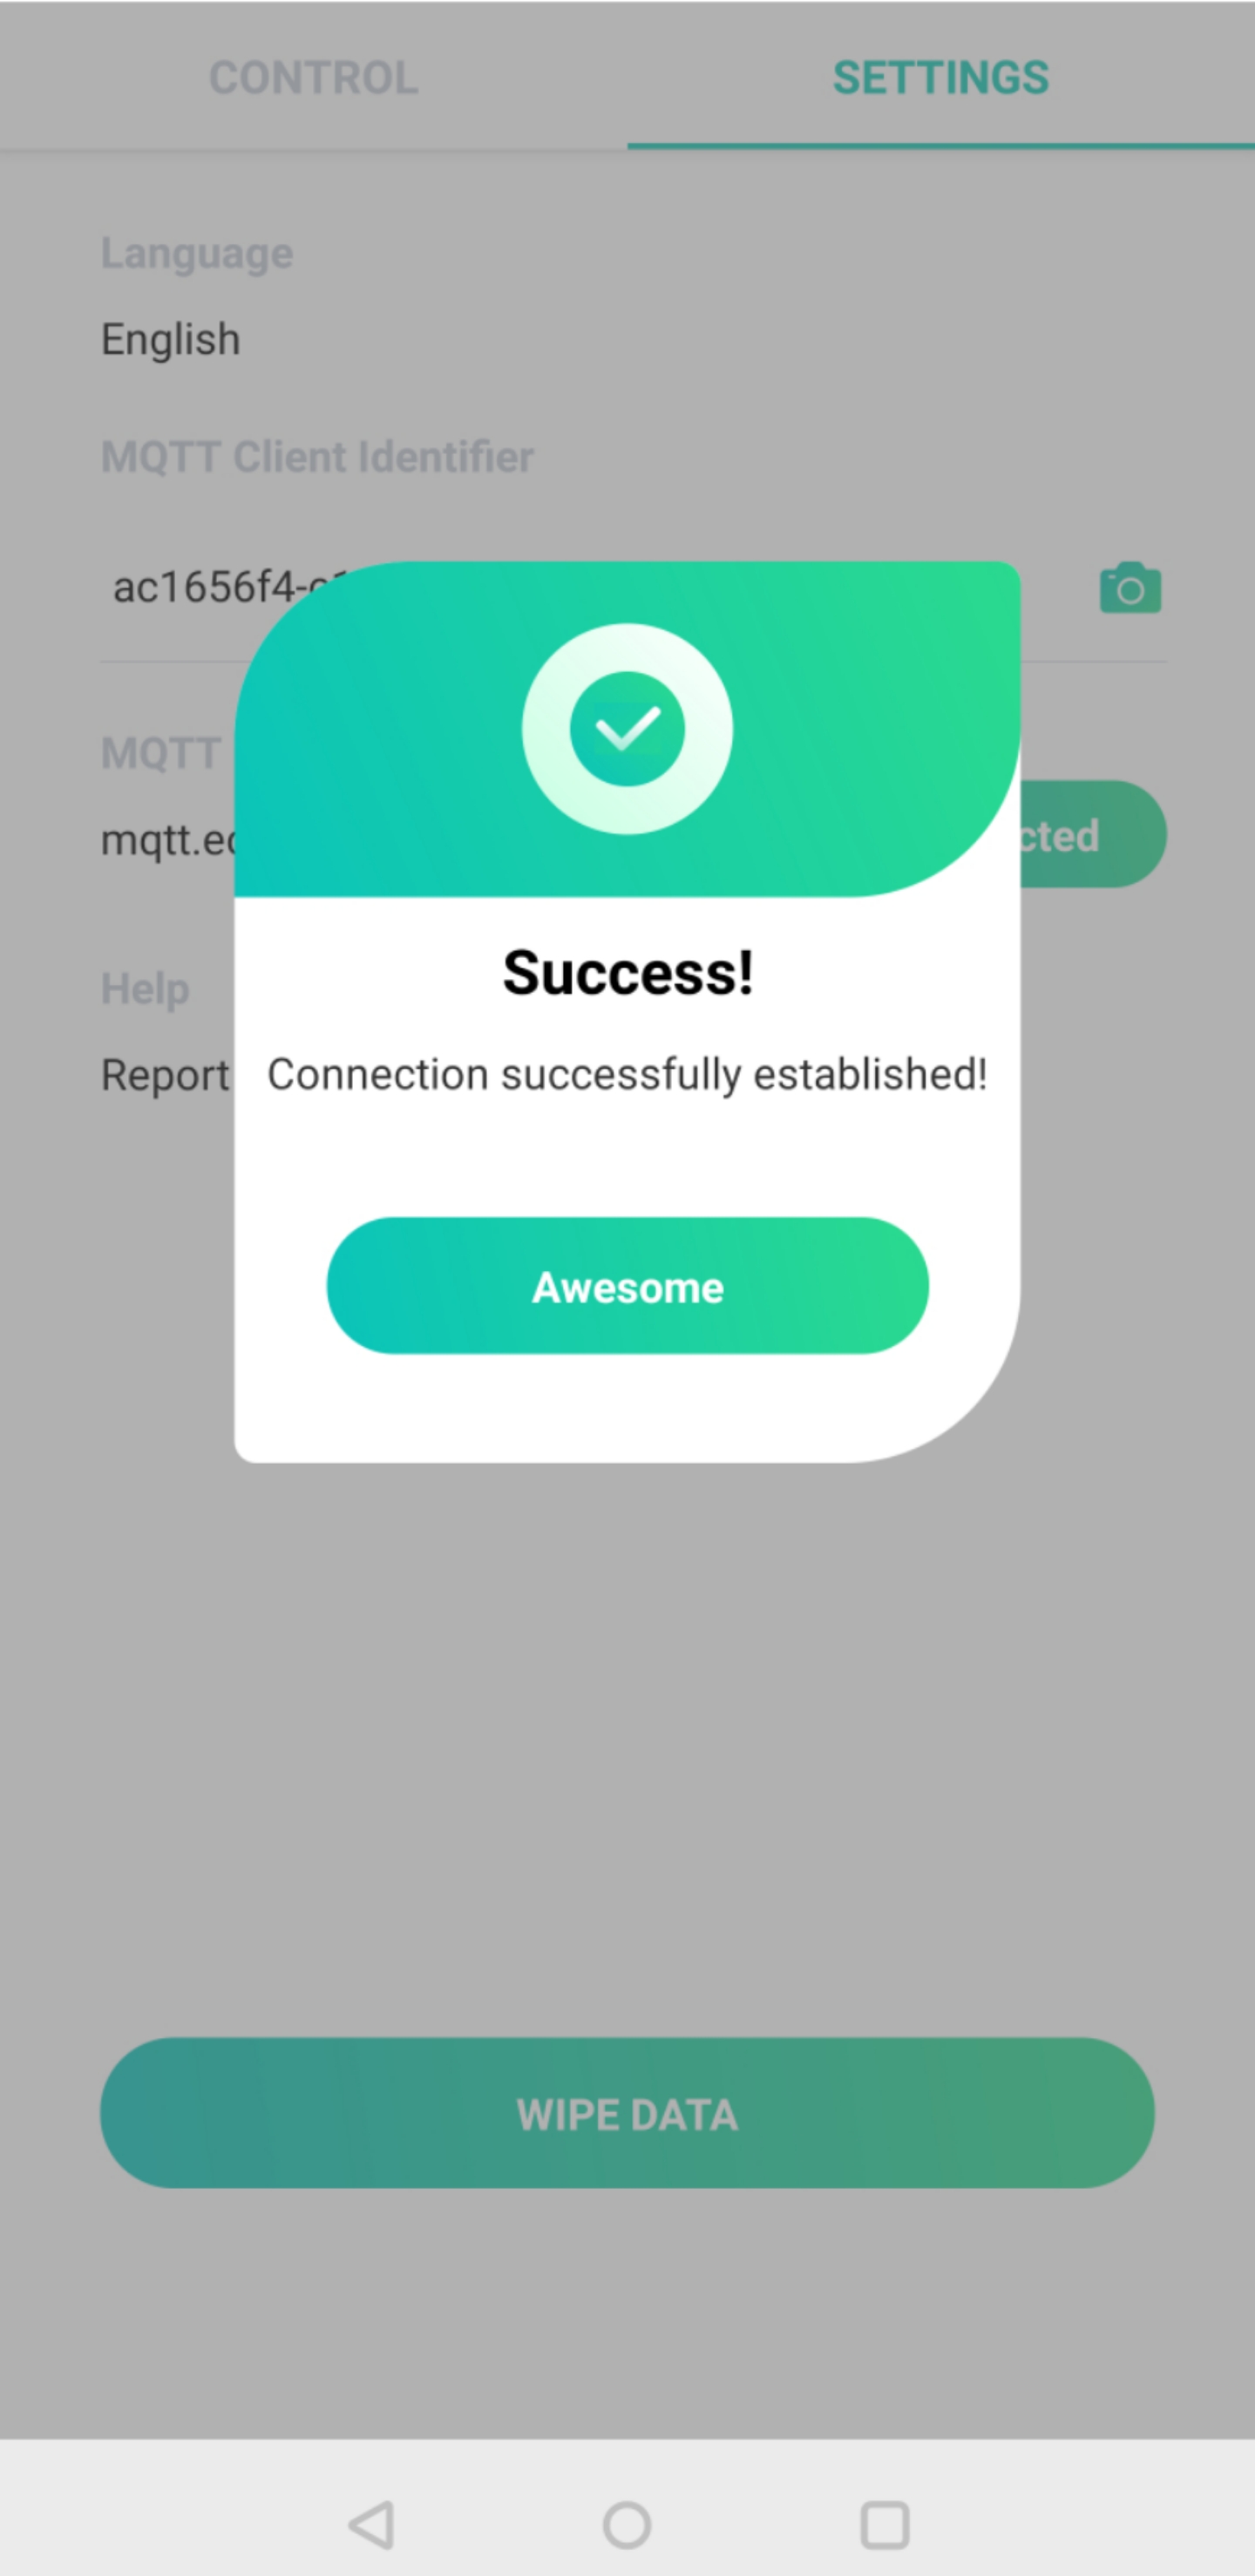
Once the virtual key entered successfully, we are now successfully connected to the same channel (the topics) as our Eduponics Mini hardware! it's time to go back to the "Control" tab and see if we can get real time data from our device.
Now you can monitor your plant from everywhere, water it remotely and track the sensors data to make smarter decisions. As the app doesn't use any external server except the MQTT broker, you can control it even outside of your home network.