STEMinds Soil moisture sensor
Our sensor is one of a kind, we truly love that sensor and hope other people can use it as much as we do.
We've been looking for quite some time for a soil moisture stable sensor for smart agriculture / smart plants related projects but couldn't find any.
We've tested over 10 sensors available in the market till we've decided to make our own. let's go through the information to understand why our sensor is different and why it's better than other alternatives.
Specifications
During the process of testing and finding the perfect soil moisture sensor for our Eduponics Mini kit we found out that other existing sensors and solution just don't work to our high expectation. here is some of the specification of our custom made sensor:
- Wide range of reading (about 1024 to 4060 in scale of analog reading)
- Water-proof and dust-proof, self-tested submerged for 24 hours.
- Powered by 5V input/output
- Highly accurate, useful for industrial and real life applications.
Comparison to other sensors
While looking for soil moisture sensors to use with our kit, we encountered a severe challenge - the sensors were just not good enough.
We've purchased and tested multiple sensors till the decision was made to make our own.
Take a look at the comparison below, our sensor has the highest voltage range and sensitivity between all the sensors we've tested,
allowing you to create a stable and precise high resolution smart agriculture and IoT applications.
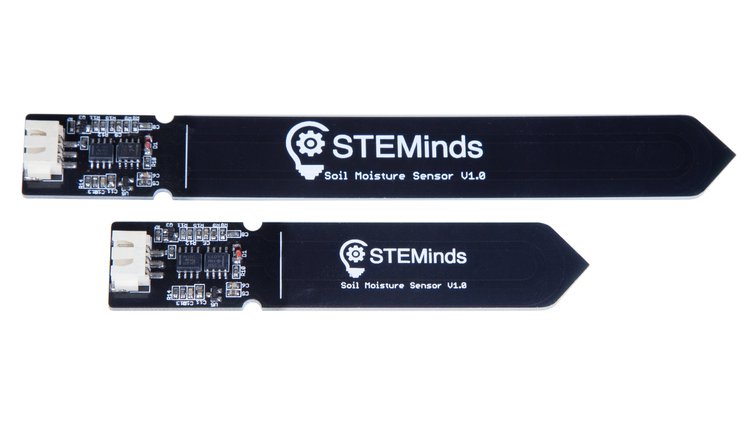
| STEMinds (Short) | STEMinds (Long) | DFRobot | Grove Seeed studio | Generic v1.2 | |
|---|---|---|---|---|---|
| Type of sensor | Capacitive | Capacitive | Capacitive | Capacitive | Capacitive |
| Operation voltage | 5V | 5V | 3.3~5.5V | 3.3~5V | 3.3-5V |
| Min voltage output | 0.987V | 0.561V | 2.468V | 2.378V | 1.022V |
| Max voltage output | 3.3V | 3.3V | 3.112V | 3.570V | 2.300V |
| Min output value | 154 | 106 | 260 | 494 | 214 |
| Max output value | 668 | 683 | 517 | 745 | 480 |
| Operation current | 7mA | 7mA | 5mA | 8mA | 6mA |
| Resolution (high-low) | 514 | 577 | 257 | 251 | 266 |
Please note the following regarding the testing of the soil moisture sensors that belong to other brands and the comparison between different type of sensors:
- All the sensors tested with Genuine Arduino Uno device using the analog pins and 5V as input.
- Generic v1.2 refers to generic sensors without Manufacturer or brand produced in China. (some Chinese companies sell it under their brand)
- Maximum voltage and output stands for the voltage when the sensor is in the open air, minimum voltage and output stands for the voltage when the sensor is submersed under water.
- For comparison we've purchased the original sensors from the authorized distributers.
- Operation current measured using Fluke multimeter.
- Soil moisture test results are for Educational reference only and should not be taken AS IS, different environments might bring different results, this meant to say that we can't control over other branded sensors while we can guarantee that our sensors will be at top quality and affordable price.
Hardware explanation
The soil moisture sensor is based on a very important component called "capacitor", the capacitor consist of three pieces. A positive plate, a negative plate and the space in-between the plates, known as the dielectric. The physical form and construction of practical capacitors vary widely and many capacitor types are in common use. Most capacitors contain at least two electrical conductors often in the form of metallic plates or surfaces separated by a dielectric medium.
A capacitive moisture sensor works by measuring the changes in capacitance caused by the changes in the dielectric. It does not measure moisture directly (pure water does not conduct electricity well), instead it measures the ions that are dissolved in the moisture.
These ions and their concentration can be affected by a number of factors, for example adding fertilizer for instance will decrease the resistance of the soil. Capacitive measuring basically measures the dielectric that is formed by the soil and the water is the most important factor that affects the dielectric.
Possible applications
This sensor can be used in smart agriculture related projects such as:
- automatic watering
- plant monitoring
- moisture sensing
- flood detection
Plugging-in the soil moisture sensor
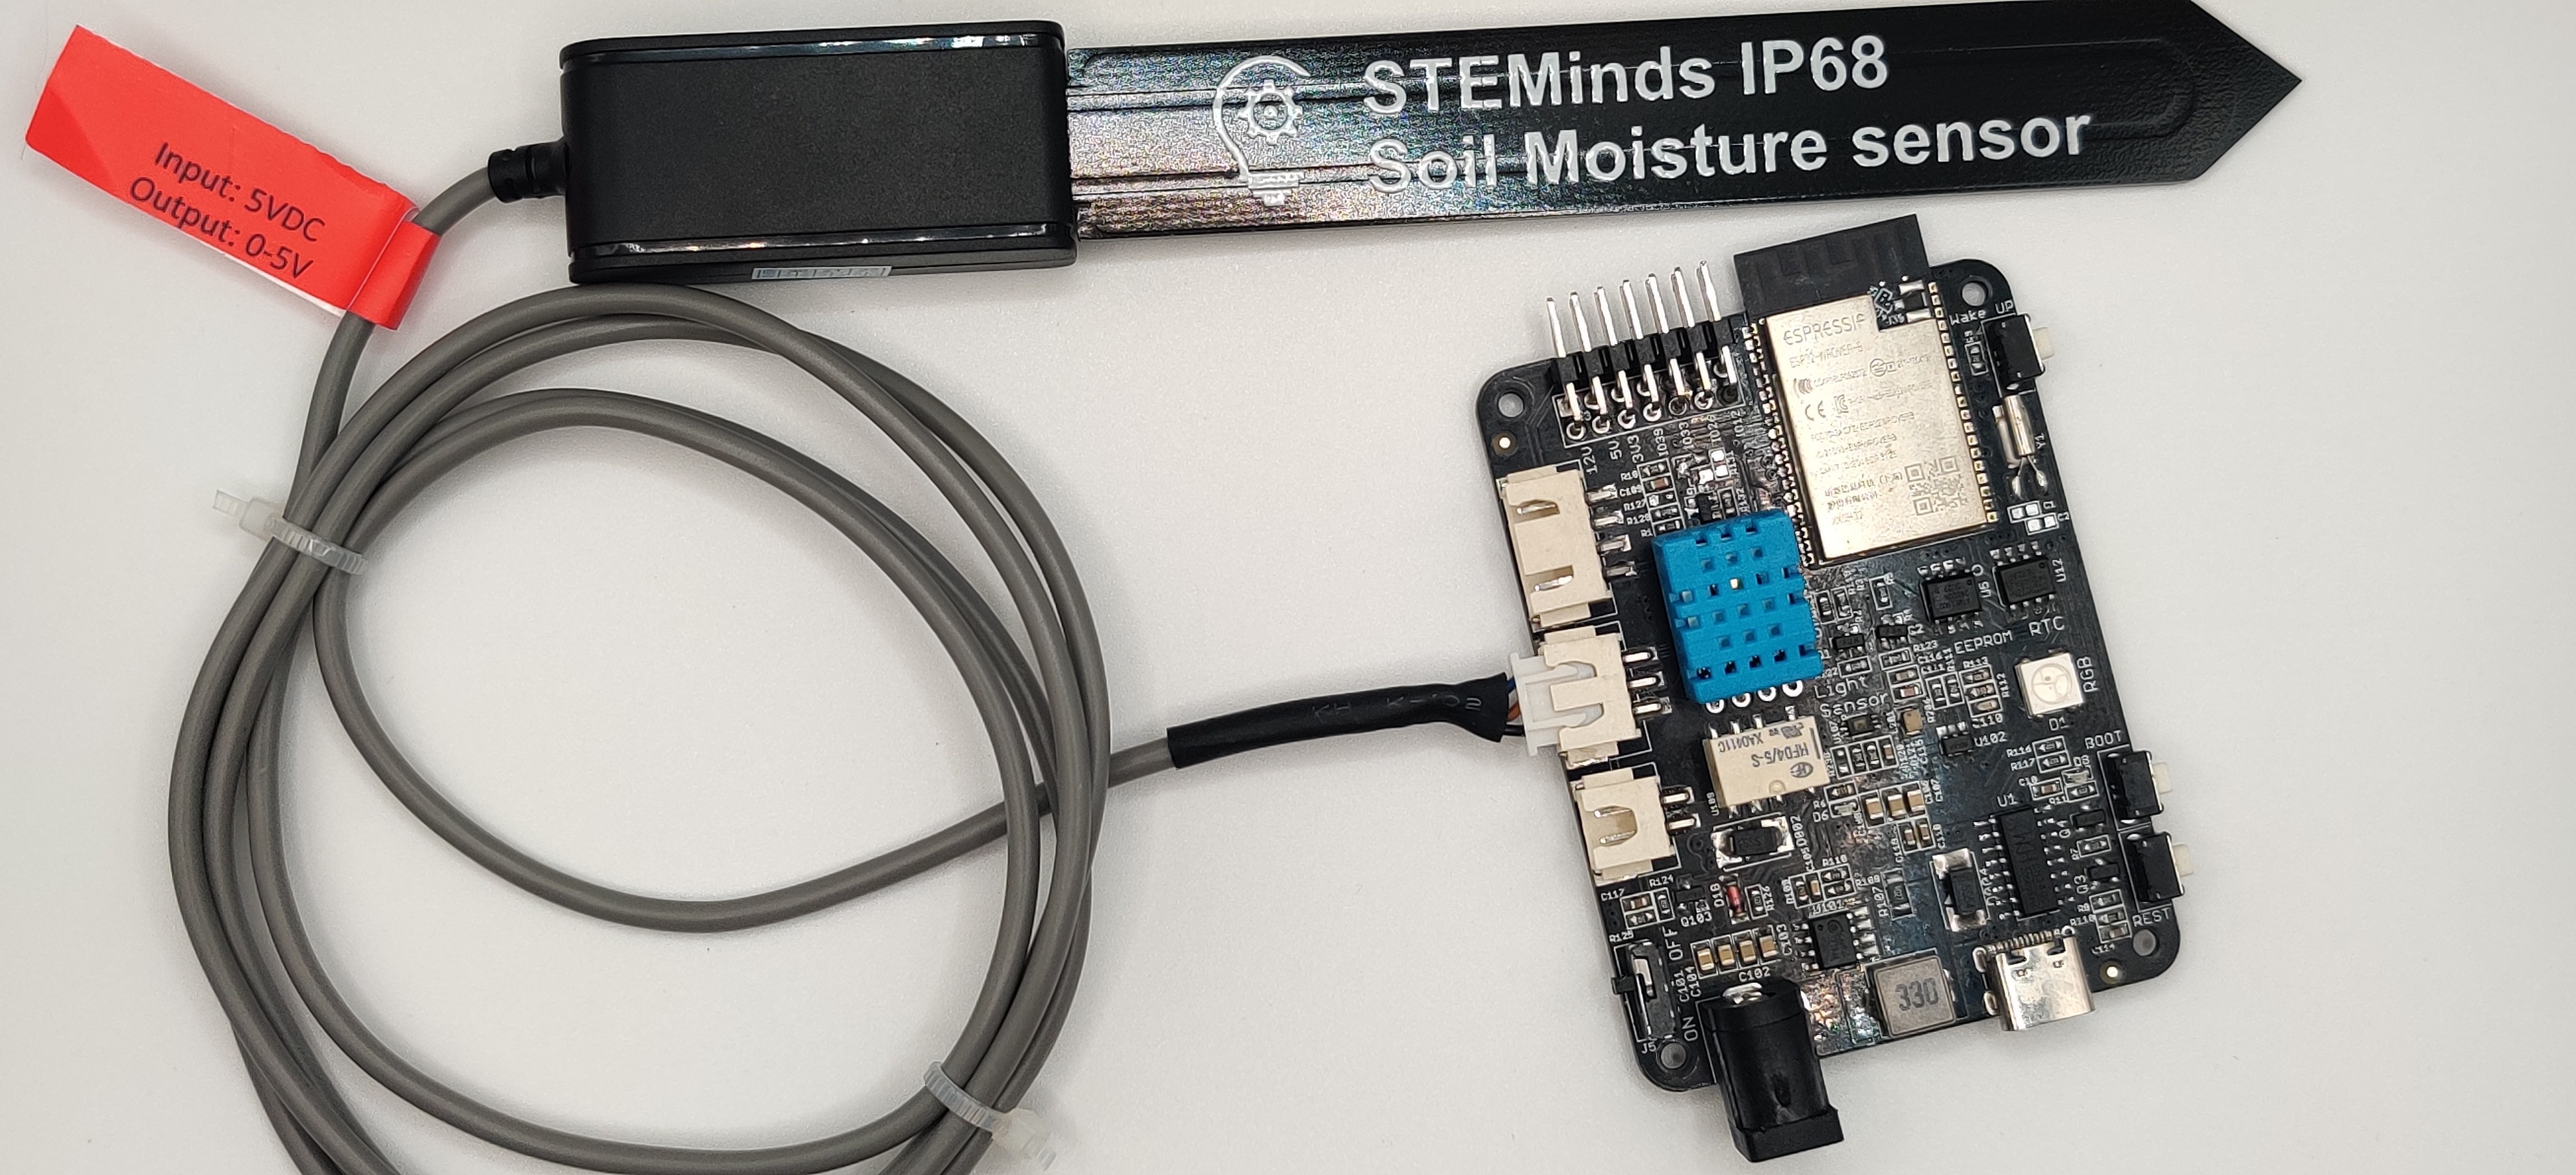
Plugging in the sensor is deadly easy. as we use the XH2.54 interface we can simply plug and play the sensor as shown in the picture above.
The sensor itself includes 3 different wires: VCC, GND and SIG (signal which is the data cable), it's important to say that the sensor itself output 5V while the ESP32 or other boards usually accept only 3.3V, if you'd like to use it in some other applications with different development boards, make sure to include a step-down circuit from 5V to 3.3V for your electronics safety.
Software explanation
Our soil moisture sensor is analog sensor, there are some pins on the ESP32 board that can be converted from analog to digital (ADC) and we will need to work through the process of converting the pin to become analog pin so we could read the data from the sensor.
The soil moisture sensor is connected to IO PIN 35, we'll call the ADC function from the machine library to set the PIN as analog input.
then, we can run .read() function directly on the PIN after configuring it, that will give us the value of the pin.
In order to get accurate reading, we must tell our ESP32 what kind of voltage should it expect to get during the analog input, is it 0-1V or 0-3.3V?
as we've mentioned earlier, our sensor is 0-5V sensor but in order not to damage the ESP32 board that can accept only 3.3V input into it's own IO pins we've used a step-down converted going from 5V to 3.3V.
As a result, we should tell the ESP32 that it should expect voltage range of roughly 0.0V - 3.6V by using the .atten(ADC.ATTN_11DB) function for configuration.
Next the final step will be to print the reading out into the terminal, try to put the sensor into the air and water and see the changes in the values.
from machine import ADC,Pin

# set adc (analog to digital) on pin 35
adc = ADC(Pin(35))
# read analog input
adc.read()
# set 11dB input attenuation (voltage range roughly 0.0v - 3.6v)
adc.atten(ADC.ATTN_11DB)
# print the analog results (moisture)
print(adc.read())
#define soilMoisturePin 35

void setup() {
  Serial.begin(115200);
}

void loop() {
  int value = analogRead(soilMoisturePin);
  // print sensor analog value
  Serial.print("Sensor value: ");
  Serial.print(value);
  delay(1000);
}
After trying the example above you might ask yourself what does this analog numbers even means, some might consider them to be "random generated numbers". In the following example we are going to make a little more sense out of it.
We'll take the maximum value of the analog sensor which can be determined by leaving the sensor dry in the air and the minimum value by submerging the sensor completely underwater, this should give us approximately 4095 for complete dryness and 710 when the sensor is submerged underwater.
Calibration is required
While each sensor is the same you might want to calibrate it manually by following the instructions above and changing the values based on the values you get when you run the program.
The next will be to take the 2 values and change them to percentage (0% means the plant is completely dry while 100% means it's submerged in water)
In reality, this will be impossible, the soil itself will have certain amount of resistance and capacitance.
It is recommended to calibrate the sensor afterwards using real life application while plotting the sensor inside of a plant / pot in wet and dry conditions.
from machine import ADC,Pin

# set max val and min val of the sensor
# this requires manual calibration
# minVal get be recieved by putting the sensor submerged in the water
# maxVal can be recieved by making sure the sensor is dry in the clear air
minVal = 710
maxVal = 4095

def value_in_percentage(val):
    # scale the value based on maxVal and minVal
    scale = 100 / (minVal - maxVal)
    # get calculated scale
    normal_reading = ("%s%s" % (int((val - maxVal) * scale),"%"))
    # we can also get inverted value if needed
    inverted_reading = ("%s%s" % (int((minVal - val) * scale),"%"))
    # for this example we'll return only the normal reading
    return normal_reading

# set adc (analog to digital) on pin 35
adc = ADC(Pin(35))
# read analog input
adc.read()
# set 11dB input attenuation (voltage range roughly 0.0v - 3.6v)
adc.atten(ADC.ATTN_11DB)
# get sensor value
value = adc.read()
# print the analog results (moisture)
print("sensor value: %s" % value)
print("sensor value in percentage: %s" % value_in_percentage(value))
#define soilMoisturePin 35

void setup() {
  Serial.begin(115200);
}

int value_in_percentage(int value){
  // set max val and min val of the sensor
  // this requires manual calibration
  // minVal get be recieved by putting the sensor submerged in the water
  // maxVal can be recieved by making sure the sensor is dry in the clear air
  float minVal = 710;
  float maxVal = 4095;
  //scale the value based on maxVal and minVal
  float scale = 100.00 / (minVal - maxVal);
  //get calculated scale
  int normal_reading = (value - maxVal) * scale;
  // we can also get inverted value if needed
  int inverted_reading = (minVal - value) * scale;
  // for this example we'll return only the normal reading
  return normal_reading;
}

void loop() {
  int value = analogRead(soilMoisturePin);
  int estimated = value_in_percentage(value);
  // print sensor analog value
  Serial.print("Sensor value: ");
  Serial.print(value);
  // print sensor value in precentage
  Serial.print("Sensor value in precentage: ");
  Serial.print(estimated);
  Serial.println("%");

  delay(1000);
}